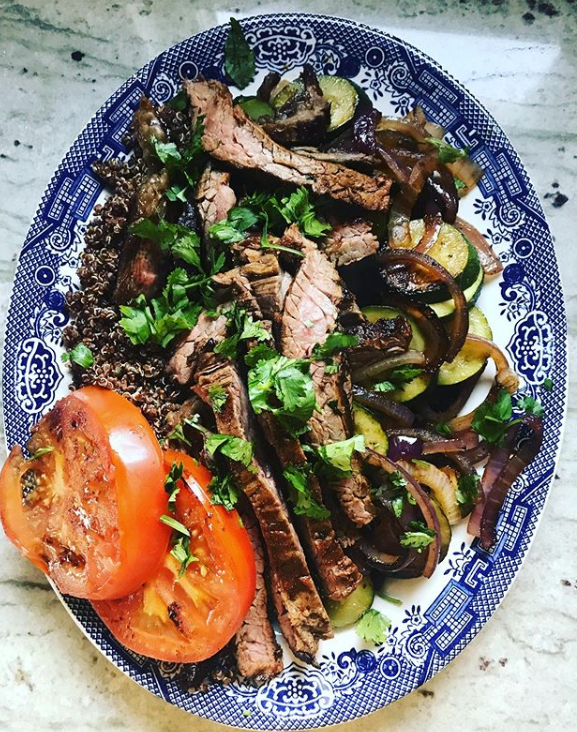
Tonight’s goal was to prepare a quick dinner with just a limited amount of protein, but also something that would still fill a family of five. I got some help from the grocery store by buying already cooked pulled pork. 14 ounces to be exact…this was going to be a test.
Of course making pulled pork from scratch is so easy, but it wasn’t about the difficulty today, it was about time. Check out my Instagram highlights to see how I made this on the spot: https://www.instagram.com/stories/highlights/18060242869142253/
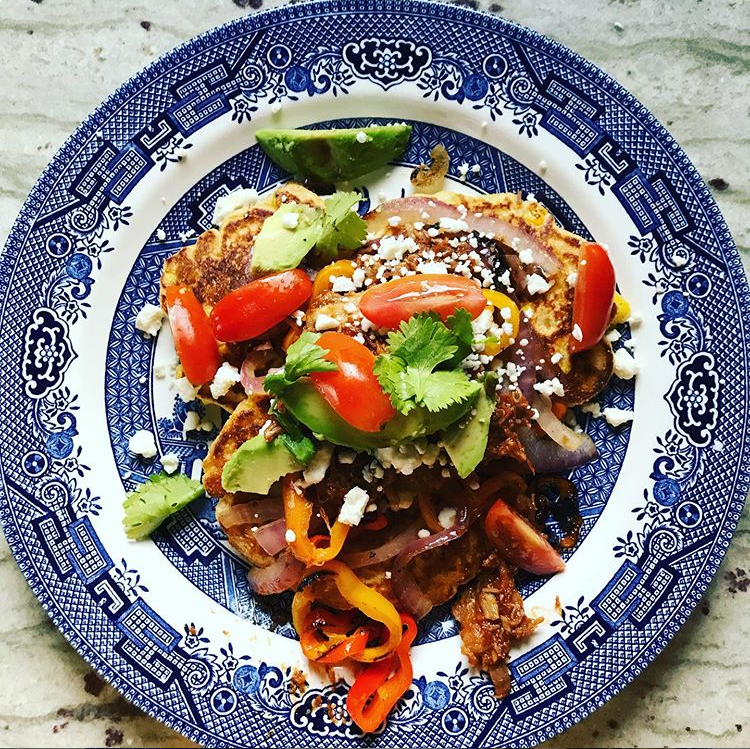
pulled pork over corn cakes
makes 5 servings
- 14 ounces of cooked pulled pork
- 1 can of corn, drained
- 1 cup of your favorite corn bread mix
- 1 egg
- 1/2 a cup of milk
- 2 tablespoons oil
- 1/2 a red onion, sliced
- 4 mini-bell peppers sliced
- In a skillet, add 1/2 a teaspoon of olive oil to a pan over medium-high heat and add the onions and peppers. Cook until golden brown and set aside.
- In a medium bowl, add 1 egg, the drained can of corn, the corn bread mix and milk. Combine until the consistency of a slightly thick pancake mix.
- In the same skillet, add a little more oil over medium-high heat and add a generous tablespoon of the batter to the pan. About three cakes to a pan.
- Cook until golden brown on one side and flip. Then set aside once cooked through.
- Meanwhile, heat the pulled pork according to manufactures directions. Set aside.
- To assemble, lay 2-3 corn cakes on the plate, then top with cooked veggies and pulled pork. Add whichever toppings you prefer. I added, feta cheese, avocado, tomato and cilantro.
Please follow me @aimeesapron on Instagram for more recipe ideas daily! https://www.instagram.com/aimeesapron/